
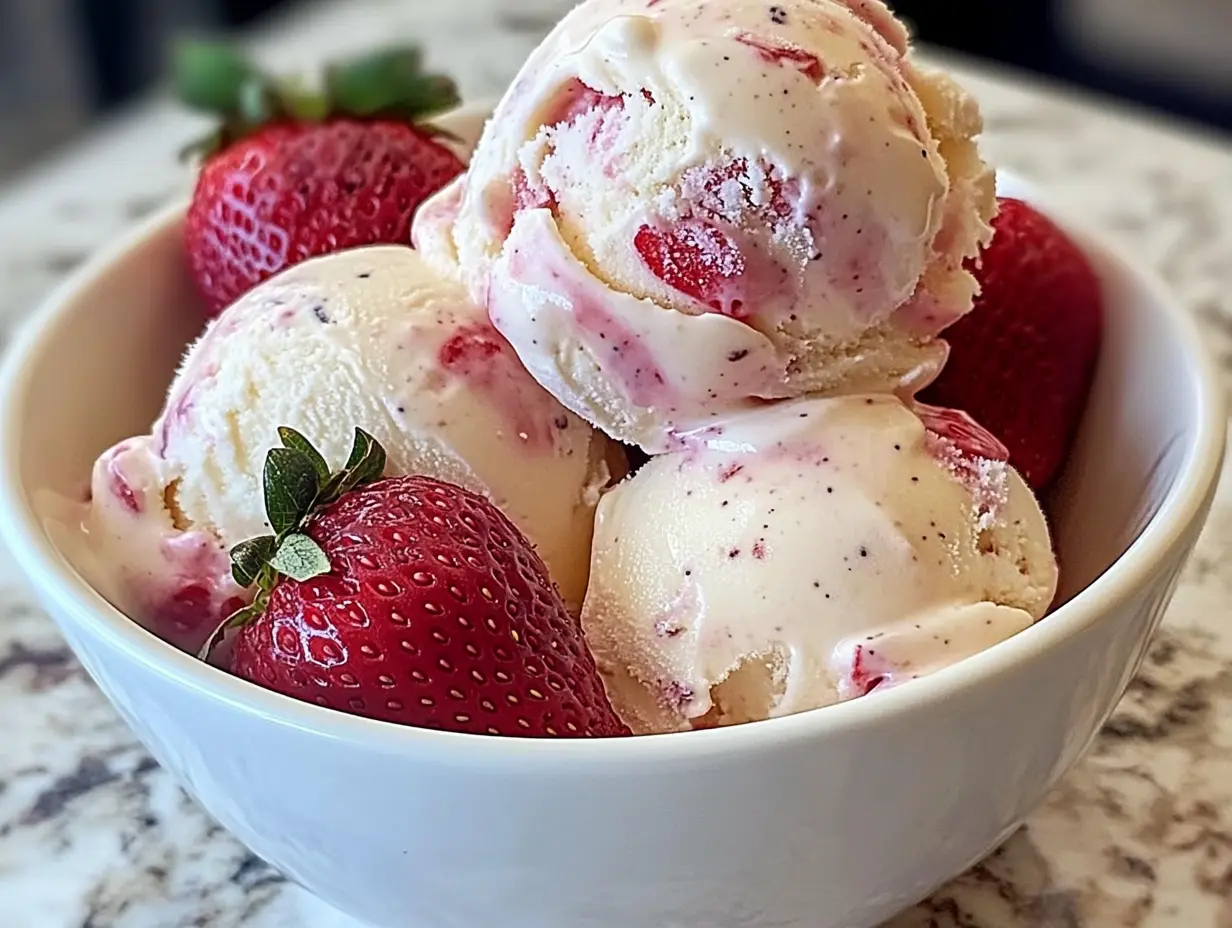
When the summer heat kicks in, there’s nothing quite as refreshing as a scoop of homemade Strawberry Vanilla Bean Ice Cream. This delightful dessert marries the natural sweetness of fresh strawberries with the rich, aromatic notes of real vanilla beans, resulting in a creamy, flavorful treat that’s surprisingly easy to make.
Why Opt for Homemade Ice Cream?
Crafting ice cream at home is more than just a way to satisfy your sweet tooth; it’s a rewarding and creative process that gives you full control over the ingredients and flavors. Here are some compelling reasons to try making Strawberry Vanilla Bean Ice Cream in your own kitchen:
Control Over Ingredients:
- Avoid Additives: Store-bought ice cream often contains preservatives, artificial flavors, and high fructose corn syrup. By making your own, you can use fresh, natural ingredients like farm-fresh strawberries, real vanilla beans, and organic cream.
- Healthier Choices: Opt for organic or locally sourced ingredients to ensure the highest quality and support sustainable practices.
Customizable Flavors:
- Adjust Sweetness: Tailor the sugar content to your preference. You can also experiment with natural sweeteners like honey or maple syrup.
- Dietary Preferences: Substitute dairy with plant-based milks for a vegan-friendly version, or add unique mix-ins like chocolate chips, nuts, or fresh herbs for a personalized touch.
Superior Quality:
- Fresh Ingredients: Select the ripest strawberries and the most fragrant vanilla beans for a superior flavor profile that surpasses anything commercially available.
- Artisanal Experience: Enjoy the process of crafting a gourmet dessert from scratch, which can be a fun and engaging activity to share with family or friends.
Ingredients for Strawberry Vanilla Bean Ice Cream
For the Custard Base:
- 2 cups fresh strawberries, hulled and sliced
- 1 cup granulated sugar
- 1 vanilla bean, split and seeds scraped (or 2 teaspoons vanilla extract)
- 2 cups heavy cream
- 1 cup whole milk
- 6 large egg yolks
Equipment Needed:
- Ice cream maker (or use the freeze-and-stir method)
- Blender or food processor
- Medium saucepan and whisk
Step-by-Step Recipe
-
Prepare the Strawberries:
- Combine the strawberries and sugar in a saucepan.
- Add the vanilla bean seeds and cook over medium heat until the strawberries soften.
- Mash or blend the mixture into a puree and let it cool.
-
Make the Custard Base:
- Heat the cream and milk in a saucepan until it begins to simmer.
- In a separate bowl, whisk the egg yolks. Gradually add the hot cream mixture while whisking continuously to prevent curdling.
- Return the mixture to the saucepan and cook over low heat until it thickens enough to coat the back of a spoon.
-
Cool and Combine:
- Strain the custard through a fine mesh sieve into a clean bowl to remove any lumps.
- Chill the custard in the refrigerator for at least 4 hours or overnight.
-
Churn and Freeze:
- Pour the chilled custard into an ice cream maker and churn according to the manufacturer’s instructions.
- In the final few minutes of churning, add the strawberry puree for a swirled effect.
- Transfer the ice cream to a freezer-safe container and freeze until firm.
Tips for Achieving Perfect Texture
Creating a smooth, creamy texture in homemade ice cream can be challenging, but these tips can help:
Chill Thoroughly:
- Ensure the custard base is fully chilled before churning. This helps prevent the formation of ice crystals and speeds up the freezing process.
Strain the Mixture:
- Use a fine mesh sieve to remove any egg solids or lumps, resulting in a silky custard.
Use High-Fat Ingredients:
- Ingredients like heavy cream create a luxurious texture by reducing the water content in the mixture.
Avoid Over-Churning:
- Stop the ice cream maker as soon as the mixture thickens to a soft-serve consistency to prevent a grainy texture.
Creative Flavor Variations
The versatility of this recipe allows for endless flavor combinations. Here are some ideas to inspire your culinary creativity:
Chocolate Lovers’ Delight:
- Add a handful of dark chocolate chips or swirl in melted chocolate during the last few minutes of churning.
Berry Fusion:
- Substitute strawberries with a mix of raspberries, blueberries, or blackberries for a vibrant, multi-berry flavor.
Herbal Accents:
- Infuse the cream with fresh herbs like basil or lavender for a sophisticated twist.
Balsamic Bliss:
- Drizzle aged balsamic vinegar over the finished ice cream for a gourmet, tangy contrast to the sweetness.
Frequently Asked Questions
How do I substitute vanilla bean?
- If vanilla beans aren’t available, 2 teaspoons of pure vanilla extract or vanilla bean paste can deliver a similar flavor. Vanilla bean paste also provides the speckled look that enhances the visual appeal.
Can I make this recipe without an ice cream maker?
- Absolutely! Use the freeze-and-stir method: pour the custard into a shallow container, freeze for 30 minutes, then stir vigorously with a fork. Repeat every 30 minutes for 3–4 hours until creamy.
Why is my ice cream grainy?
- Graininess often results from improperly chilled custard or over-churning. Ensure the custard is ice-cold before churning, and stop the machine as soon as the mixture thickens to prevent over-processing.
Can I reduce the sugar?
- Yes, but keep in mind that sugar not only sweetens but also helps achieve a creamy texture. Too little sugar may lead to a harder texture, so consider natural sweeteners like honey or maple syrup as substitutes.
How long does homemade ice cream last in the freezer?
- For optimal taste and texture, consume within 1–2 weeks. Beyond that, ice crystals may form, altering the flavor and creaminess.
The Science Behind Ice Cream Texture
Understanding the science behind ice cream can help you achieve the perfect texture every time. Here are some key factors:
Fat Content:
- Fat plays a crucial role in ice cream texture. Higher fat content, such as that found in heavy cream, contributes to a smoother, creamier mouthfeel. Fat globules help stabilize the air bubbles incorporated during churning, creating a lighter texture.
Sugar:
- Sugar not only sweetens the ice cream but also lowers the freezing point of the mixture. This helps prevent the formation of large ice crystals, which can make the ice cream grainy. However, too much sugar can result in an ice cream that is too soft and doesn’t freeze properly.
Air Incorporation:
- The process of churning incorporates air into the ice cream, which is essential for a light and fluffy texture. Over-churning can introduce too much air, leading to a crumbly texture, while under-churning can result in a dense, icy consistency.
Freezing Process:
- Rapid freezing helps create smaller ice crystals, resulting in a smoother texture. This is why it’s important to chill the custard thoroughly before churning and to use an ice cream maker that can freeze the mixture quickly.
Health Benefits of Homemade Ice Cream
While ice cream is often considered an indulgent treat, making it at home can offer some health benefits:
Natural Ingredients:
- By using fresh, natural ingredients, you can avoid the preservatives and artificial flavors found in many store-bought ice creams. This makes homemade ice cream a healthier option.
Controlled Sugar Content:
- You can adjust the sugar content to your liking, using natural sweeteners like honey or maple syrup. This can help reduce your overall sugar intake.
High-Quality Fats:
- Using high-quality dairy products like organic cream and milk can provide essential fats that are beneficial for your health. These fats can help you feel full and satisfied.
Vitamins and Minerals:
- Fresh fruits like strawberries are rich in vitamins and antioxidants. By incorporating them into your ice cream, you can boost its nutritional value.
The Joy of Making Ice Cream with Family and Friends
Making ice cream at home can be a fun and engaging activity to share with family and friends. Here are some ways to make the most of the experience:
Involve the Kids:
- Kids love to help in the kitchen, and making ice cream is a great way to get them involved. They can assist with measuring ingredients, stirring the custard, and even helping with the churning process.
Experiment with Flavors:
- Encourage creativity by experimenting with different flavor combinations. You can try adding various fruits, nuts, or even spices to create unique and delicious ice cream flavors.
Host an Ice Cream Party:
- Invite friends and family over for an ice cream party. Set up a toppings bar with a variety of options like chocolate chips, sprinkles, and fresh fruit. Everyone can customize their own sundaes and enjoy the fruits of their labor.
Conclusion
Homemade Strawberry Vanilla Bean Ice Cream is more than just a dessert; it’s an experience that brings joy and creativity into your kitchen. From selecting ripe strawberries to savoring the first creamy scoop, the process is as rewarding as the result. By following this recipe, you’ll create a treat that surpasses anything store-bought, in both flavor and quality.
Ready to impress your family and friends? Give this recipe a try and enjoy the rich, fruity indulgence of Strawberry Vanilla Bean Ice Cream. If you’re looking to explore more delicious homemade ice cream ideas, consider trying a creamy peach ice cream for another fruity twist! Share your unique variations and let us know your favorite combinations!
The art of making ice cream at home allows you to indulge in a delightful treat while also enjoying the process of creation. Whether you’re looking to impress guests or simply want to treat yourself to a homemade delight, this recipe is sure to become a favorite. So, grab your ingredients and get churning—the perfect scoop of Strawberry Vanilla Bean Ice Cream awaits!
PrintStrawberry Vanilla Bean Ice Cream Recipe
- Total Time: 40 minutes
- Yield: 8
Ingredients
• 2 cups fresh strawberries, hulled and sliced
• 1 cup granulated sugar
• 1 vanilla bean, split and seeds scraped
• 2 cups heavy cream
• 1 cup whole milk
• 6 large egg yolks
Instructions
1️⃣ Prepare the Strawberries
- 🍲 In a saucepan, combine the strawberries, sugar, and vanilla bean seeds.
- 🔥 Cook over medium heat until the strawberries soften and the sugar dissolves.
- 🧊 Set aside to cool.
2️⃣ Heat the Cream
- 🍶 In another saucepan, heat the heavy cream and milk until it begins to simmer.
- ❌ Remove from heat before it boils.
3️⃣ Temper the Egg Yolks
- 🥚 In a bowl, whisk the egg yolks.
- 💧 Gradually pour the hot cream mixture into the yolks, whisking constantly to avoid curdling.
4️⃣ Thicken the Custard
- 🍳 Return the egg and cream mixture to the saucepan.
- 🔄 Cook over low heat, stirring constantly, until the custard thickens and coats the back of a spoon.
5️⃣ Cool the Custard
- 🌀 Strain the custard into a clean bowl.
- ⏳ Allow it to cool to room temperature.
- 🧊 Refrigerate until thoroughly chilled (approximately 4 hours).
6️⃣ Churn the Ice Cream
- 🍦 Pour the chilled custard into an ice cream maker.
- ⚙️ Churn according to the manufacturer’s instructions.
7️⃣ Incorporate the Strawberries
- 🍓 In the last few minutes of churning, add the strawberry mixture to create a delicious swirl.
8️⃣ Freeze
- 🛢️ Transfer the churned ice cream to a container.
- ❄️ Freeze until firm and ready to serve.
Notes
For a smoother texture, make sure the custard is well-chilled before churning, and don’t over-churn the ice cream. If you don’t have an ice cream maker, you can freeze the mixture and stir every 30 minutes until it firms up.
- Prep Time: 20 minutes
- Cook Time: 20 minutes